Hello everyone! I’m back with another recipe as voted for by you! The option for a Vegan Chocolate Babka had the edge over a Cinnamon Babka. While I’m a big fan of both flavours, there is something particularly special about cutting into the melty soft chocolate babka! As always, you can see a step-by-step video guide for this recipe over on our Instagram stories. I’ve split this recipe into two-parts as we want to give our dough a rest in the fridge before we shape fill and bake our babka.
“What’s the deal with Babka?”
If you’ve ever seen the dinner party episode of Seinfeld where Jerry and Elaine need to get their hands on a chocolate babka, then you get why this sweet treat is so sought after! Fun fact – Babka means Grandmother in Polish! Babka (or Bobka as it is also known) is a braided sweetened bread or cake. Babka hails from the Ashkenazi Jewish community. It is popular in Israel, as well as in the Jewish diaspora. Recently, babkas have become popular the world over for their beautiful swirled dough with melted chocolate spilling out. Delicious.
Despite chocolate babka clearly being superior (!), there are actually loads of other varieties of babka. Other flavours and fillings include cinnamon, apple, sweet cheeses, poppy seeds and raisins. I’ve even heard of savoury za’atar babkas. What’s common amongst all these varieties is that they will be prepared with yeast-leavened dough. The dough is filled then braided into a plait and baked. Braiding dough might sound scary, but don’t worry, I’ve got your back!
Sublime Limes
I’ve have included lime zest in this recipe. However, it is completely optional to do so. If you’ve never tried the combination of lime and chocolate before then I urge you to do so! You’re probably used to a chocolate orange combination, but lime just pairs fantastically well with any chocolate treat. Chocolate cake or even our vegan brownies can be enhanced with that extra burst of zest. If you don’t have any limes, then orange or lemon zest can be used too. Let me know which zest comes out on top! If you don’t have any citrus fruits then you can go ahead and skip the zest altogether – you’ll still have a wonderfully chocolatey and delicious babka!
If you’re interested in some more leavened recipes, then why not check out our Flourless Aubergine Croquettes for Passover! Those of you who have enjoyed having a crack at kneading dough should definitely put our Easy Vegan Milk Bread on your list of bakes next!
To vote on future recipes then be sure to give us a follow on Instagram. You can also keep up to date with all of our culinary exploits, nutritional breakdowns and soup profiles by following us on Facebook, Twitter & LinkedIn
N.B. Don’t forget we’re running a 20% off Special on all our Souper Boxes. Head over to our webshop to view our range of nutritious & delicious free-from soups with code: SOUPBOXMAY20
Let’s get started!
Vegan Chocolate Babka
Equipment
- Measuring Jug
- Sieve
- Large Mixing Bowl
- Standard Mixer, with a dough hook
- Cling Film
Ingredients
For the dough
- 250 g Plain Flour
- 60 ml Soya Milk
- 1 x Vegan Egg Replacer (made according topacket instructions), or Aqua Faba
- 40 g Granulated Sugar
- Pinch of Salt
- 40 g Margarine
- Zest 2 Limes or 1 Orange or 1 Lemon (optional)
- 10 g Fresh Yeast or 1 tsp Active Dried Yeast
- Vegetable Oil for greasing
Filling
- 150 g Chocolate Spread of your choice (Nutella works well ifyou can eat nuts)
- 60 g Chocolate Chips
Glaze
- 50 g Granulate Sugar
- 40 ml Water
Instructions
- To begin, heat the milk in the microwave until luke-warm. I like to do this in 10 second bursts (it usually takes between 10-20s to reach the right temperature). It should be barely warm and not at all hot.
- If you’ve microwaved the milk for too long, simply allow the milk to cool for a bit.
- Combine the yeast and milk.For dried active yeast, simply whisk into the slightly warmed milk until the mixture looks quite foamy. If you’re using fresh yeast, dissolve the yeast into the milk with *clean* fingertips until it has completely dissolved. Set aside.
- For the flour, we want to create a smooth and lump-free flour. So, sieve the flour three times, going back and forth between two bowls. This might seem excessive, but the results are well worth it!
- Add the yeast/milk mixture to a standard mixer with a dough hook attachment. Add the flour, lime zest, sugar, salt and the egg replacer.
- Start mixing on a low speed for 2 minutes while gradually adding in the margarine. Don’t forget to scrape down the sides of the bowl to incorporate each ingredient well.
- Then, mix on a medium speed for 4 minutes.
- As this mixture is quite small, you might find that the dough doesn’t knead perfectly. That’s okay, as we’re going to knead again a second time on our work surface. If, however, you find that your mixer can’t reach the dough at all, then don’t worry. Just mix it together by hand then tip onto the work surface and knead for 7-8 minutes until smooth.
- Tip out the dough and all the crumbs onto a clean work surface. I won’t be adding any extra flour as it tends to dry out the dough. If you find that the dough is starting to stick to the surface, you can dust the work surface lightly with flour, or rub some oil to prevent any sticking.
- Knead the dough for 5 minutes. To knead, hold onto the dough with your non-dominant hand. Using the heel of your dominant hand, hand, stretch and tear the dough away from you. Then, fold the dough back over on itself and give it a quarter turn. Keep kneading for 5 minutes for a smooth and elastic dough. We’re looking to achieve a soft and slightly bouncy dough.
- Lightly grease a large bowl with vegetable oil and place the dough inside. Cover the bowl with greased cling film.
- Set aside to rise for 30 minutes at room temperature.
- Remove the cling film and set it aside, but don’t throw the clingfilm away!
- Lay the cling film flat out a clean work surface. Place the dough in the middle.
- Then, carefully press the dough into a rough rectangle using *clean* hands. Carefully wrap the dough back up in the cling film and place it in the fridge overnight.
- Get excited for shaping and filling the dough tomorrow!
Filling, Shaping, Cooking & Glazing:
- Lightly dust your work surface.
- Remove the dough from the fridge and take it out of the cling film. Place the dough in the middle of your work surface.
- Using a rolling pin, roll the dough out into a 30cm x 15cm rectangle. You want the long side of the dough to be nearest to you.
- If your chocolate spread of choice is a bit too stiff, you can heat it for about 10s in the microwave to soften it slightly.
- Spread the chocolate spread all over the dough. Scatter over the chocolate chips.
- Now, starting at the long edge closest to you, roll the babka dough into a long, tight cylinder. (See our insta stories for a demo on how this is done.)
- Pick up your cylinder and place it on a chopping board. Using a sharp knife, cut the cylinder in half, lengthways, to reveal the layers of chocolate that you just rolled up (it should look like two long legs of babka) – make sure to leave about 3cm of dough uncut at the top of the babka. This is to help us keep the dough intact when we braid it together.
- To braid, place the left side of the dough over the right side. Keep placing the left over the right until you have a two-stranded plait.
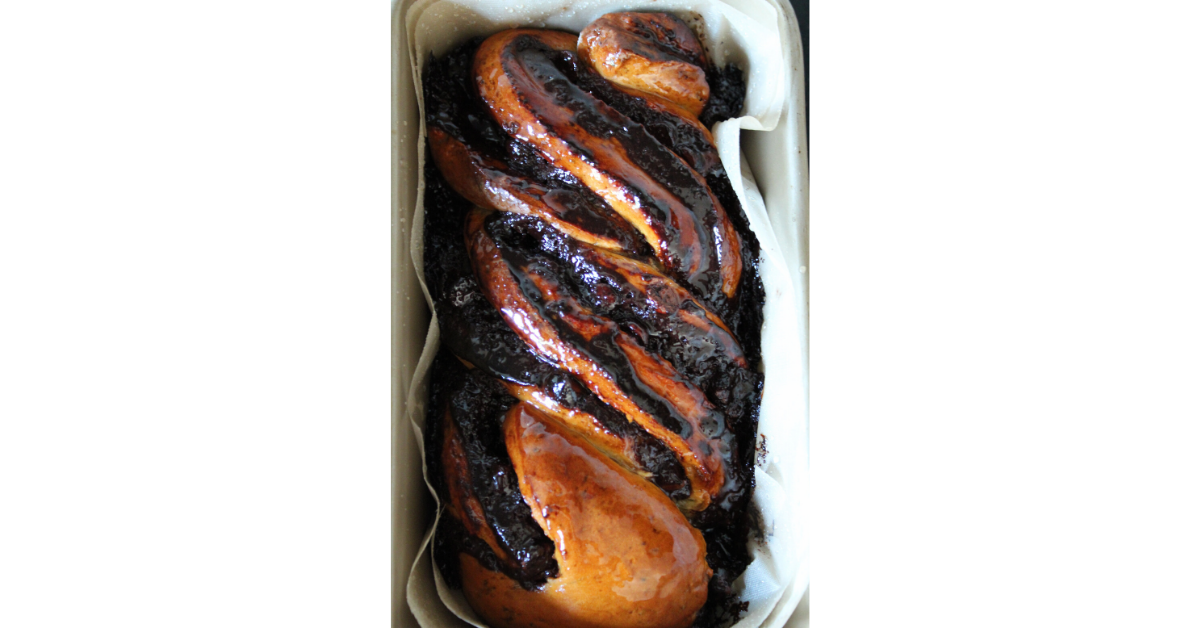
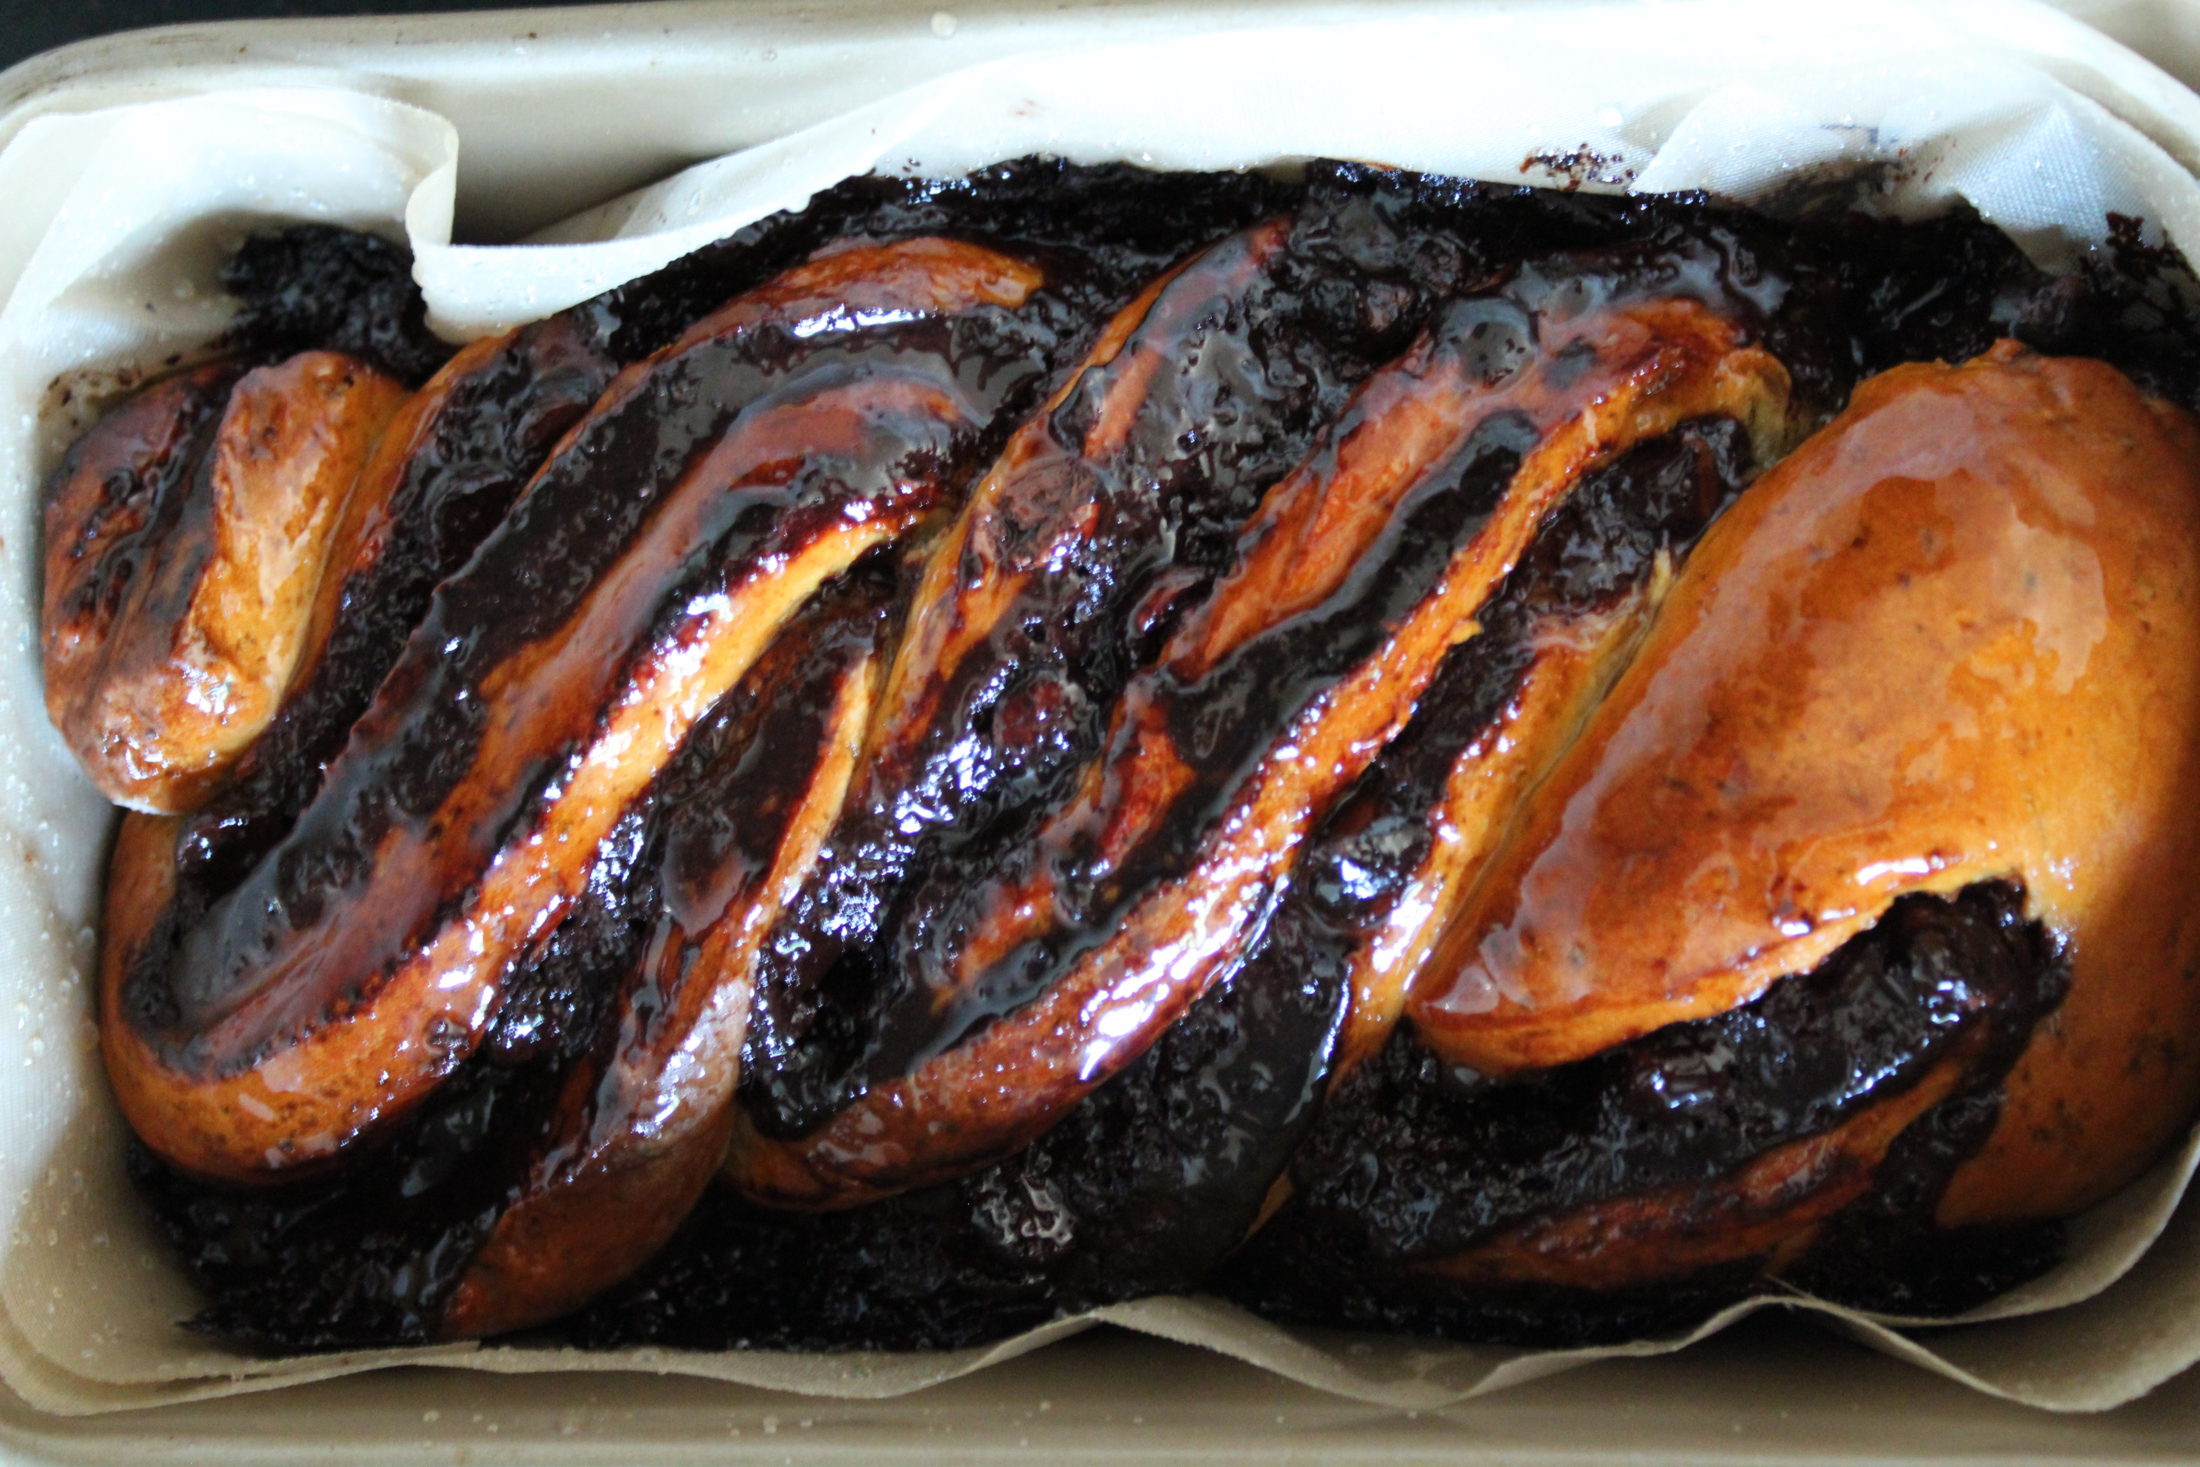
- Take your loaf tin and line with parchment. Squeeze your braided babka into the loaf tin. You want as much of the chocolate braid facing up as possible. Cover with a tea towel and allow to rise for a further 2 hours in a warm place.
- Preheat your oven to 175°C/350°F.
- Bake for 40 mins total. Check the babka regularly – if you think the top is browning too quickly, you can cover it loosely with silver foil.
Simple Syrup:
- While the babka is cooking, place the sugar and water in a small saucepan. Heat on low until the sugar has fully dissolved. The water might start to simmer which is fine. Remove from the heat once the sugar has dissolved and set aside.
- Remove the babka from the oven and allow to cool for 5 mins. Using a pastry brush, brush the top of the babka all over with the simple syrup. It might seem like quite a lot but I promise, it’s worth it!
- Allow the babka to cool for a further 30 mins before removing from the tin. A babka is best eaten the day it’s made but it can also be wrapped up and frozen if you wish.
- Cut into slices and serve – it’s worth every bite!